Guide · 15 min
Getting started with SpecLynx
Take one OpenAPI document from broken to validated, customised, and parsed. Six steps, one file, nothing to sign up for.
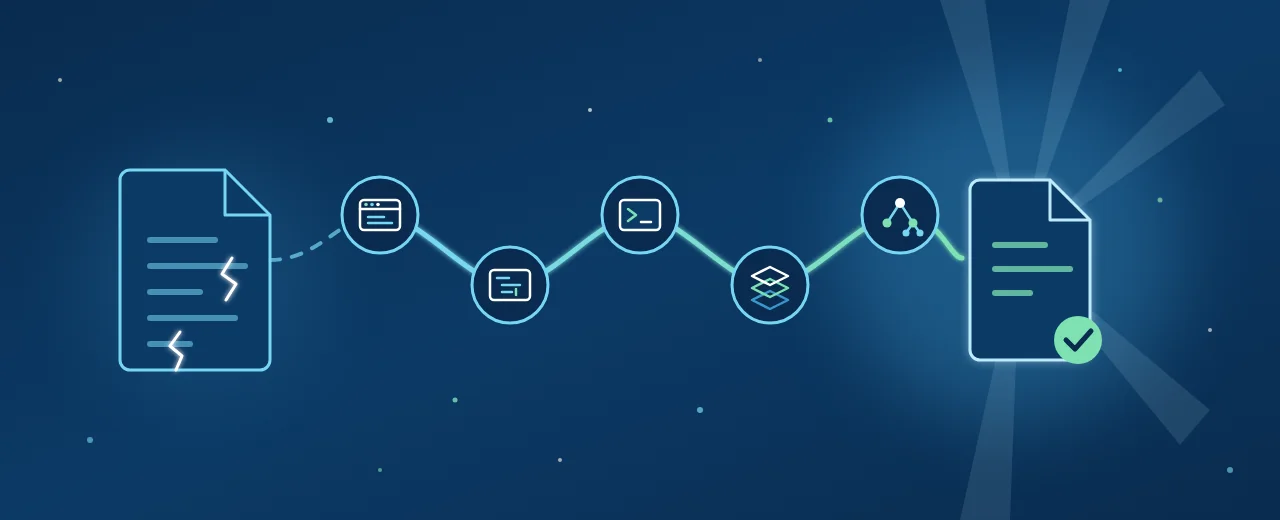
Every SpecLynx tool runs on the same engine, so this guide follows a single document through all of them. By the end you will have:
- seen the same two errors reported in the browser and in the terminal, and fixed them without leaving the browser,
- added a response schema in VS Code with completion doing the typing,
- a validate command that fails a CI job when the spec regresses,
- an internal variant of the spec produced by an Overlay, without editing the original,
- a few lines of JavaScript that read the document through ApiDOM.
Step 1: Get the sample spec
Save this file as openapi.yaml, or download it. It is a minimal Petstore with two deliberate mistakes: the info object has no version, and operationId is a number instead of a string.
openapi: 3.1.0
info:
  title: Petstore API
paths:
  /pets:
    get:
      operationId: 1
      summary: List all pets
      responses:
        '200':
          description: A list of pets
Step 2: Fix the errors in the Editor
Open editor.speclynx.com . It opens with a sample called petstore-3.1.yaml; select all of it and paste your file over it. Nothing leaves your browser: the Editor is fully client-side, so there is no account and no upload.
Both problems are underlined as soon as you paste, the Problems panel lists them with line and column, and the rendered documentation on the right updates as you type:
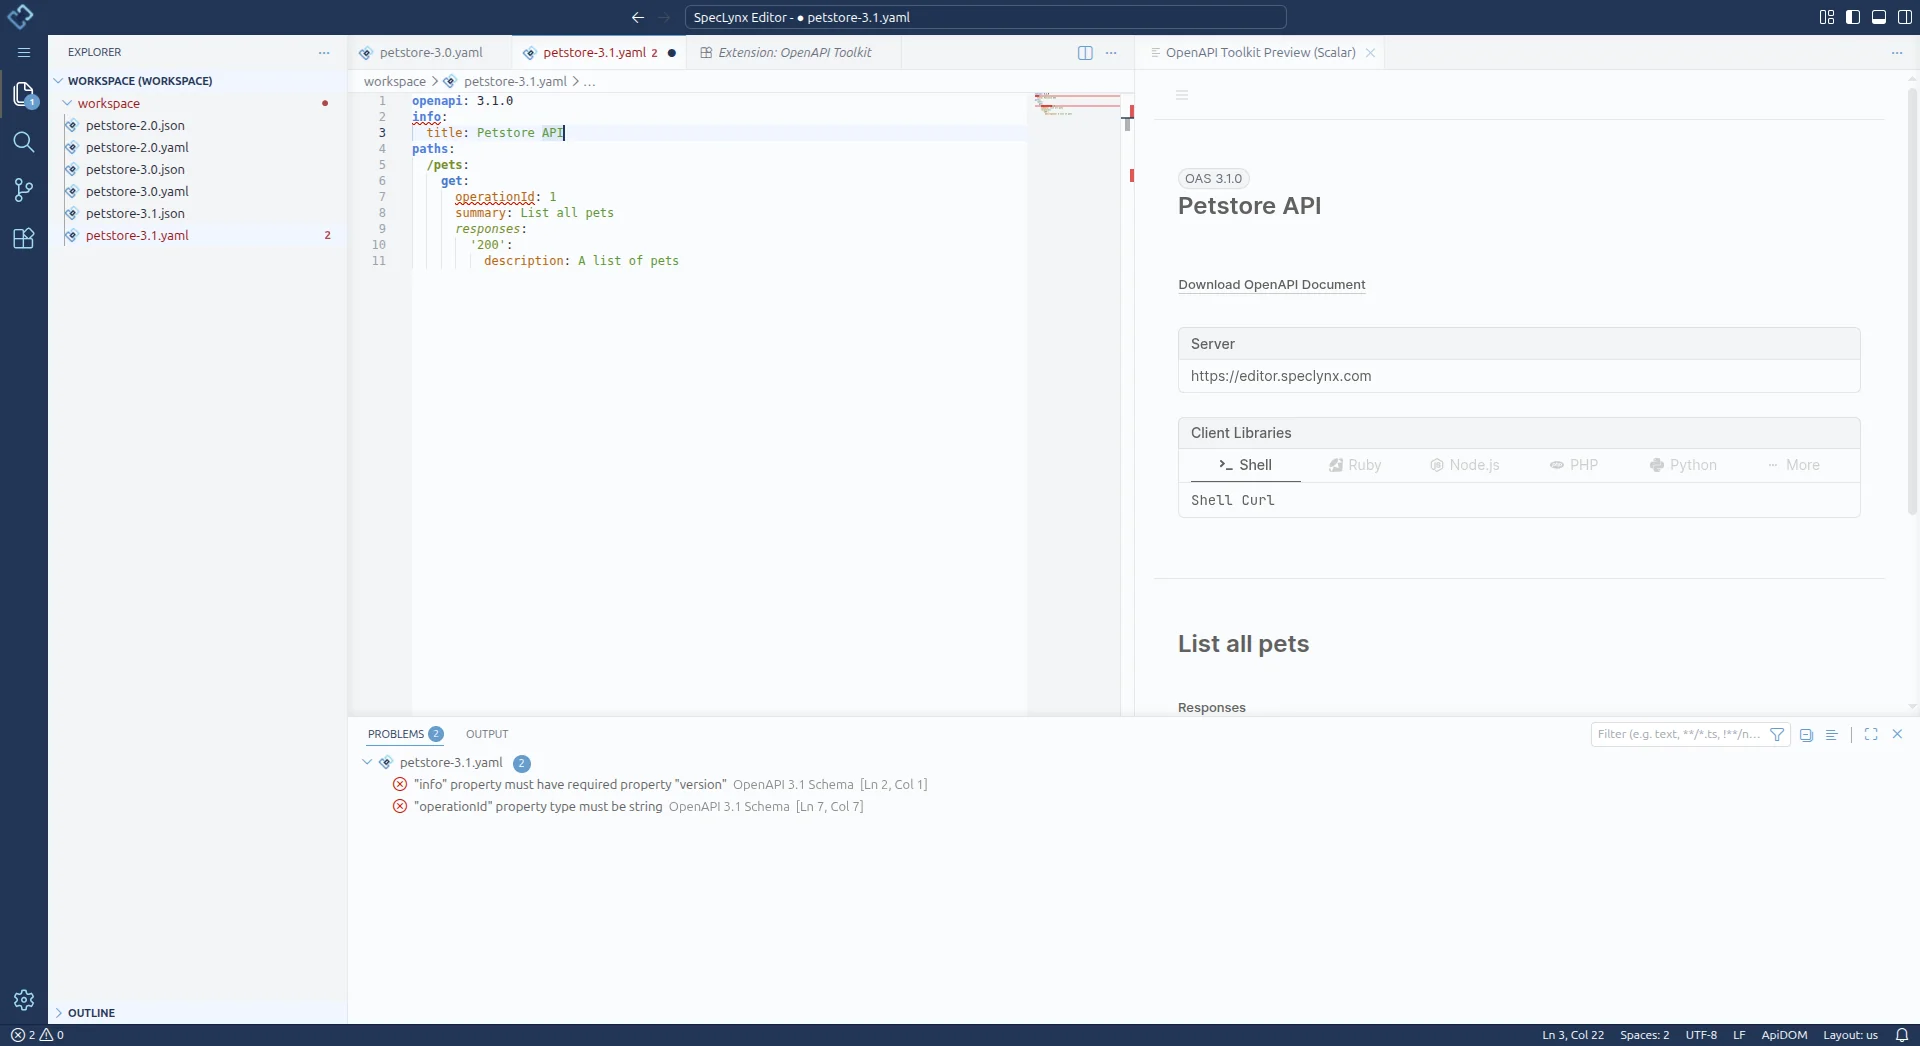
Fix them in place:
- Add a new line under
title, start typingver, and accept the completion forversion. Set it to1.0.0. - Change
operationId: 1tooperationId: listPets.
The markers disappear and the preview now shows a proper operation. Copy the document back over your local openapi.yaml; the rest of the guide works on the file. It should read:
openapi: 3.1.0
info:
  title: Petstore API
  version: 1.0.0
paths:
  /pets:
    get:
      operationId: listPets
      summary: List all pets
      responses:
        '200':
          description: A list of pets
The Editor is the fastest way to inspect a spec you have been sent, or to sketch one before it lives in a repository. See the Editor page for what else it does.
Step 3: Extend it in VS Code
Once a spec lives in a repository you want the same intelligence in your editor. Install the OpenAPI Toolkit extension in VS Code and open openapi.yaml. It runs the same engine as the Editor, so the Problems panel is empty, and it would show the two errors from step 1 at the same positions if you reopened the broken file.
The response has no schema yet. Add one and let completion do the typing:
- Under
description: A list of pets, start typingconand acceptcontent. Keep going the same way forapplication/jsonandschema; each level offers only the keys that are valid there. - Make the schema an array whose items are a
$ref. When you type$ref:the Toolkit lists every reusable schema in the document. There are none yet, so add acomponentssection with aPetschema, come back to the$ref, and pick it from the list. - Hover the
$refto preview the schema it points at, or use Go to Definition to jump there.
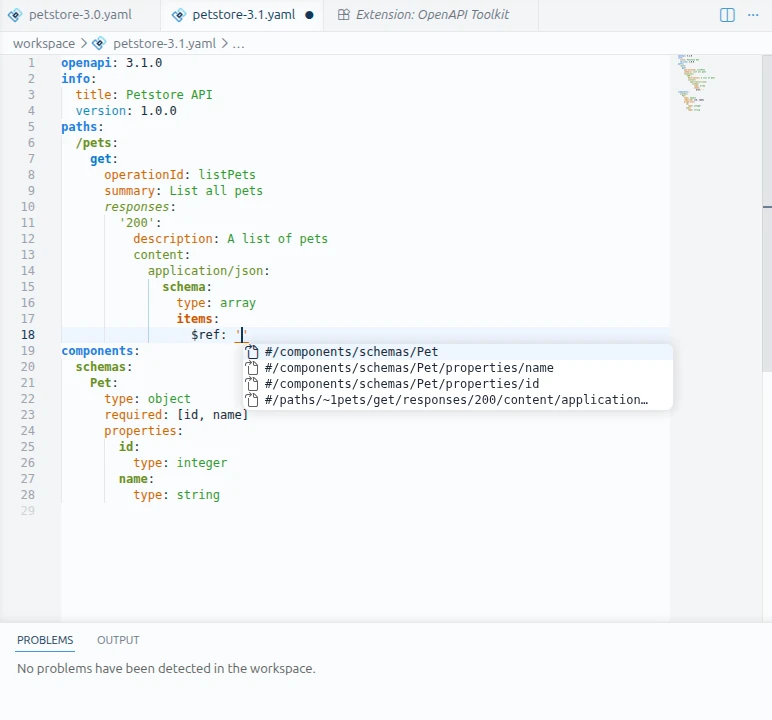
Your file should now read:
openapi: 3.1.0
info:
  title: Petstore API
  version: 1.0.0
paths:
  /pets:
    get:
      operationId: listPets
      summary: List all pets
      responses:
        '200':
          description: A list of pets
          content:
            application/json:
              schema:
                type: array
                items:
                  $ref: '#/components/schemas/Pet'
components:
  schemas:
    Pet:
      type: object
      required: [id, name]
      properties:
        id:
          type: integer
        name:
          type: string
The Problems panel stays empty. Completion, hover, go-to-definition, and live preview are covered on the OpenAPI Toolkit page.
Step 4: Validate from the terminal and gate CI
Editors catch mistakes while you type. CI catches the ones that get committed anyway. You need Node.js 20 or newer; npx fetches the CLI on first use, so there is nothing to install.
To see what a failure looks like, run it against the broken original from step 1. Download it again as broken.yaml:
$ npx @speclynx/cli validate broken.yaml
broken.yaml
  2:1-2:5    error  3030501  should always have a 'version'
  7:20-7:21  error  3080500  operationId must be a string

✖ 2 problems (2 errors)
The CLI auto-detects the document type and version, reports every problem with its exact location, and exits non-zero. Run it on your openapi.yaml and it exits zero with No problems found.
That exit code is the whole CI story. Add one step to your pipeline; this is what it looks like in GitHub Actions:
- uses: actions/setup-node@v4
  with:
    node-version: 20
- run: npx @speclynx/cli validate openapi.yaml --fail-severity warning
The --fail-severity warning flag makes warnings fail the job too, not just errors. Add --format json for machine-readable output. The same command works on AsyncAPI, Arazzo, and Overlay documents, and on URLs. The validate reference covers every option, check category, and exit code.
Step 5: Customise it with an Overlay
A spec often needs more than one shape: an internal edition with real server URLs, a public one without them, a partner one with extra descriptions. Editing copies by hand drifts. An Overlay is a small document that describes changes to apply to another document, so the original stays untouched.
Save this as overlay.yaml next to the spec, or download it. It adds a description to info and a server to the root:
overlay: 1.0.0
info:
  title: Add a description and a server
  version: 1.0.0
actions:
  - target: $.info
    update:
      description: Internal Petstore API
  - target: $
    update:
      servers:
        - url: https://api.petstore.example.com
Apply it. The result goes to standard output unless you pass -o:
$ npx @speclynx/cli overlay apply overlay.yaml openapi.yaml
openapi: 3.1.0
info:
  title: Petstore API
  version: 1.0.0
  description: Internal Petstore API
paths:
  /pets:
    get:
      operationId: listPets
      summary: List all pets
      responses:
        '200':
          description: A list of pets
          content:
            application/json:
              schema:
                type: array
                items:
                  $ref: '#/components/schemas/Pet'
components:
  schemas:
    Pet:
      type: object
      required: [id, name]
      properties:
        id:
          type: integer
        name:
          type: string
servers:
  - url: https://api.petstore.example.com
Key order, quoting, and indentation from the original are preserved. Only the two targeted changes appear. Write the result to a file to keep it:
npx @speclynx/cli overlay apply overlay.yaml openapi.yaml -o openapi.internal.yamlAlready have two hand-edited copies of a spec? overlay diff generates the Overlay between them, so you can delete the copy and keep the diff. Both commands are in the CLI reference.
Step 6: Read it from your own code
Everything above runs on ApiDOM, and you can call it directly. Install the two packages and put this in parse.mjs next to your spec:
npm install @speclynx/apidom-reference @speclynx/apidom-coreimport { parse } from '@speclynx/apidom-reference';
import FileResolver from '@speclynx/apidom-reference/resolve/resolvers/file';
import { toValue } from '@speclynx/apidom-core';
const result = await parse('./openapi.yaml', {
resolve: { resolvers: [new FileResolver({ fileAllowList: ['*.yaml'] })] },
});
console.log(toValue(result.api.info.title)); // "Petstore API"
console.log(toValue(result.api.info.version)); // "1.0.0"
result.api.paths.forEach((pathItem, path) => {
console.log(toValue(path), toValue(pathItem.get('get').get('operationId')));
}); // "/pets listPets"Run it with node parse.mjs. Local file access is allow-listed for safety, which is why the FileResolver is passed in; parsing from a URL needs no configuration at all.
The document type was detected automatically, and the result is a data model that keeps everything the file contained: comments, key order, and the exact position of every value. That is what lets the Editor and the CLI point at line 7, column 20, and what lets the Overlay step change two things without rewriting the rest. The Data Model page explains what you are holding.
Next steps
- Point
validateat an AsyncAPI, Arazzo, or Overlay document. Nothing changes but the file. - Building an editor or a tool of your own? The Language Service exposes the same validation, completion, and hover over the Language Server Protocol.
- Go deeper on parsing: strict and non-strict modes, source maps, and style preservation.
- Stuck or curious? Ask in the discussions.